
If you are building an app or running a small product and you need a steady stream of TikTok ads, the editing step tends to be the one that kills the pace. You have clips. You have a product demo. But turning those into ten or fifteen finished ads means opening a timeline, re-trimming, re-adding captions, re-exporting, and doing the whole thing again next week. Most solo founders either pay a freelancer on Upwork or quietly stop posting new creative.
There is a third path: batch editing. The idea is simple. Instead of building one ad at a time, you set up the shared decisions once, then generate a batch of finished ads from your existing clips in a single session.
This post explains how to do that practically, whether you are using what TikTok Ads Manager already gives you, an external tool like ClipStitchr, or a combination of both.
Table of Contents
- What batch editing actually means for TikTok ads
- What TikTok Ads Manager gives you for bulk editing
- The real bottleneck: creative production, not campaign settings
- How to batch produce TikTok ad creatives without an editor
- What to do when your clip library gets thin
- How to score and review your batch before posting
- Handling music, captions, and text across a batch
- Getting your finished ads out the door
- The habit that makes batch editing sustainable
What Batch Editing Actually Means for TikTok Ads
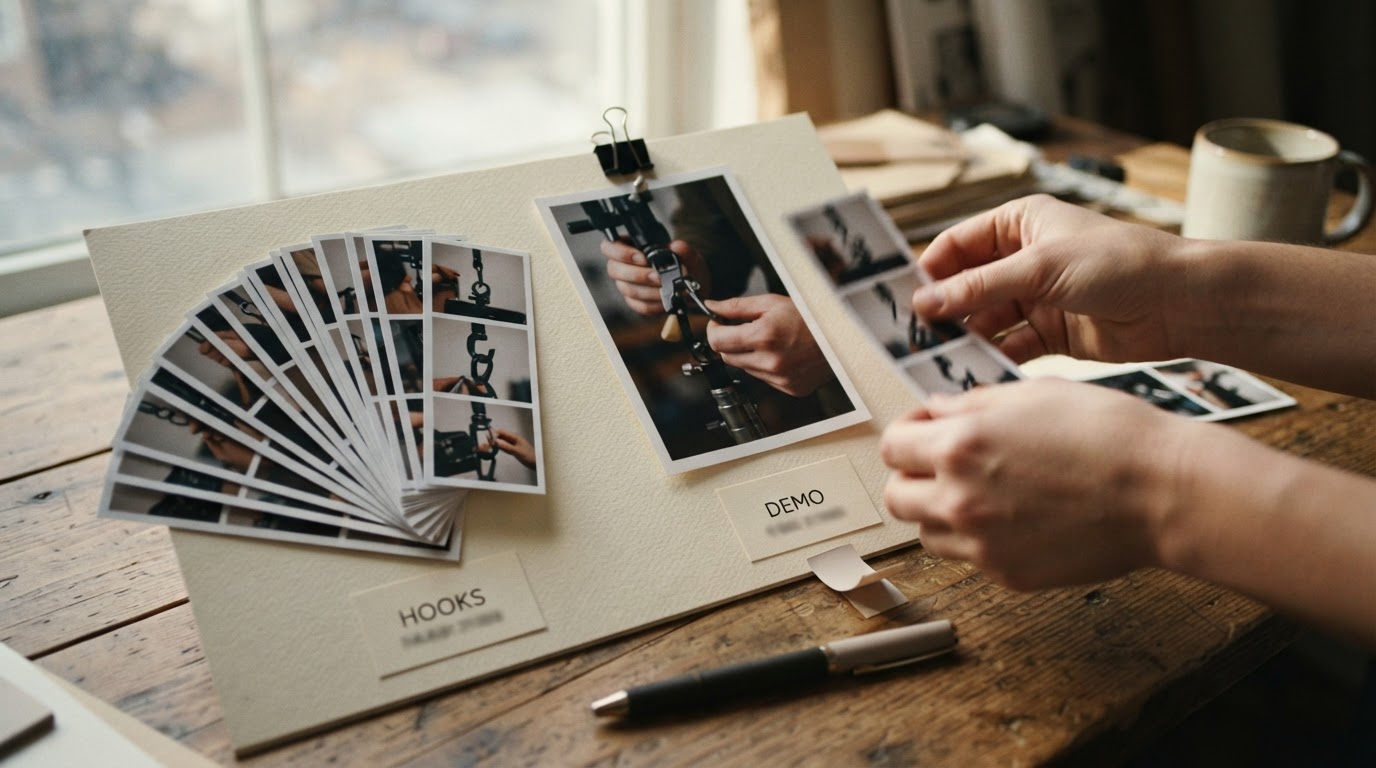
Batch editing means making decisions once that apply across a group of ads, rather than rebuilding each one individually.
At the campaign level, that might mean changing the status, budget, or targeting on multiple ads at the same time. TikTok Ads Manager has tools for that.
At the creative level, it means taking a set of hook clips or UGC clips, pairing each one with your product demo, applying the same caption style and text settings, and producing a finished ad for each combination without repeating the manual work fifteen times.
Most guides stop at the campaign settings layer because that is what ad platforms expose. But if you are a solo founder, the painful repetition is usually in the video production step, not in toggling a budget field. This post covers both layers.
What TikTok Ads Manager Gives You for Bulk Editing
TikTok Ads Manager does have a built-in bulk edit feature worth knowing about. Here is what it actually does.
Bulk edit for ad status and settings: You can select multiple ads in Ads Manager and update things like ad status (active or paused), names, budgets, and scheduling in one action. This is useful when you want to pause a group of underperforming creatives or activate a set of new ones without clicking into each ad individually.
Bulk edit for creatives: TikTok also allows you to edit ad creative settings in bulk. This covers things like ad copy, call-to-action text, and URLs across selected ads. It does not mean you can edit the video files themselves in bulk.
TikTok Ads Manager Video Editor: TikTok has a built-in video editor inside Ads Manager. You can trim clips, add text overlays, and apply music to individual creatives. It works for making one ad at a time but does not give you a batch production workflow where fifteen clips become fifteen finished ads automatically.
Bulk upload via spreadsheet: Ads Manager supports spreadsheet-based bulk upload, which is useful for trafficking a large volume of pre-made creatives. If you already have finished video files, you can upload a CSV with your ad details and push them all into a campaign at once. This is a time-saver but it assumes the videos are already done.
So TikTok's own tools help you manage campaigns in bulk and upload pre-made videos in bulk. They do not solve the step of producing those videos in the first place without an editor doing the work.
The Real Bottleneck: Creative Production, Not Campaign Settings
When a solo founder says they want to batch edit TikTok ads, they usually mean something like: "I have eight UGC clips and a product demo. I need finished ads. I do not want to spend three hours in CapCut cutting and re-cutting."
The bottleneck is not toggling ad statuses. It is the video editing loop itself.
Each ad follows the same basic structure: a hook or UGC clip opens the ad, then a product demo closes it. That structure repeats for every clip in your library. The variables between ads are mostly which hook clip pairs with which demo, what caption style is applied, and whether there is music.
When you do this by hand, you build that structure from scratch every single time. If you have twelve hook clips and one demo, you are potentially assembling twelve separate timelines, exporting twelve files, and checking twelve outputs.
Batch production tools flip this. You define the structure once, pick your clips, and let the tool assemble the combinations. You review what comes out and keep the winners.
This is the workflow ClipStitchr was built around. The logic is: hook clip first, product demo second, shared overlay settings applied across the whole batch, output ready to review. You upload your clips once and they stay in your library. Next session, you do not start over.
How to Batch Produce TikTok Ad Creatives Without an Editor

Here is a practical step-by-step that works for a solo founder with an existing set of clips.
Step 1: Gather and organize your raw footage
Before any batch can run, you need your raw materials in one place. That means your hook or UGC clips (short clips meant to grab attention in the first few seconds) and at least one clean product demo video.
A lot of founders have these files scattered across phone storage, Google Drive folders, and old Slack threads. Getting them into one organized library is the unglamorous step that makes everything else faster.
ClipStitchr's library keeps hook clips, demos, and finished ads in separate tabs so nothing gets buried. Uploads are automatically prepared for vertical video format, so you do not fix the same orientation or aspect ratio issue every time you reuse a clip.
If you want to check whether your product demo is actually ready before pairing it with any hooks, the Product Demo Readiness Checker at ClipStitchr walks through eight practical questions about your video without requiring an upload.
Step 2: Score your clips before you build
Not every clip is worth pairing with your demo. Some have a weak opener. Some have dead space at the start. Some are great clips but will not survive the transition into a product demo.
Spending five minutes scoring your clips before you batch-produce anything saves you from reviewing twelve mediocre outputs and wondering why none of them feel right.
ClipStitchr's clip scoring looks at whether the clip has a strong hook, whether the on-camera presence is clear, whether the pacing is fast enough, and whether it will flow cleanly when a product demo follows it. Clips come back labeled as worth using, good with a trim, needs a quick fix, or skip for now. That is enough information to prioritize your batch without watching every clip back yourself.
Step 3: Set up your batch
With your library organized and your best clips identified, you set up the batch. In ClipStitchr's Stitchr tool, that means:
- Selecting the product demo you want to pair
- Choosing up to 20 hook or UGC clips
- Deciding on text overlay style (or leaving it on "Any" to let the system vary the look)
- Creating the batch
The tool pairs each hook clip with the demo, applies the shared overlay settings, and produces a finished vertical ad for each combination. You do not touch a timeline. You do not export anything manually. You review what comes out and decide what to keep.
This is the core of batch editing at the creative level. The repetitive edit, which is always the same structure, happens once. The useful variation between ads, which is the different hooks, survives as separate outputs you can test independently.
Step 4: Review and keep the winners
Batch production is not magic. Some outputs will be noticeably better than others. The hook that felt punchy on its own might not flow into the demo as cleanly as you hoped. A quieter clip might actually work better because the transition is smoother.
Review your batch of stitches, check the stitch scores (more on that below), and download only the ones that are actually ready. You do not need to post every output from a batch. Even getting five strong ads out of twelve clips is a good session.
What to Do When Your Clip Library Gets Thin
Batch editing is only as good as your library. If you have two hook clips, you will only ever get two ads per session. At some point, you need more raw material.
There are a few honest ways to handle this.
Record more footage yourself. This is the most reliable option, especially for app demos. A clean two-second product moment recorded on your phone is worth more than three shaky clips that need a lot of fixing. The app demo recording checklist at ClipStitchr gives you a practical list of what to check before you hit record.
Find what hooks are working. Before you record anything new, it helps to understand what kinds of hooks are actually performing in your category. ClipStitchr's Hook Lab lets you paste any public TikTok or Instagram post and get a timestamped breakdown of what happens at each moment, what expressions and body language appear, how the energy shifts, and what the structural format is. The Hook Library has over a thousand reusable opening patterns you can filter by category, feeling, and intensity. This is useful when you know you need more variety but you are not sure what to record next.
Generate reaction and b-roll clips. When your library is genuinely thin and you need more material before the next batch, ClipStitchr's Clipr tool generates short reaction or b-roll clips using your saved product context. These are not for replacing real UGC but for filling gaps when you have a solid hook concept but no footage to execute it yet.
Use AI UGC tools selectively. For a broader look at how AI-generated UGC fits into a production workflow, the post on how to create UGC ads with AI covers the tradeoffs honestly. AI UGC is useful for volume but it works best when paired with some real footage rather than used as the whole strategy.
How to Score and Review Your Batch Before Posting
One of the quiet advantages of working without a dedicated editor is that you get to review everything before it goes out. An editor delivers files. A batch tool delivers drafts you can inspect and score before committing.
ClipStitchr's stitch scoring checks whether a finished stitch is actually ready to post. It looks at:
- How well the opener holds attention
- Whether the hook flows naturally into the demo
- Where the likely drop-off risks are
- What could be trimmed to tighten the ad
- A posting recheck that notes what still needs work
A stitch score is not a guarantee of performance. It is an honest editorial read before you hit post or push to a campaign. This replaces the mental overhead of watching every output three times and guessing whether it is good enough.
If you want to go deeper on what makes an effective TikTok ad before you even get to the review step, this video covers the filming and editing fundamentals from a creator-first perspective:
Handling Music, Captions, and Text Across a Batch
One of the friction points in any batch workflow is that small per-ad decisions, like which music track to use or what the caption color should be, can pull you back into individual editing mode even after your batch is done.
A few things that help:
Set text style before the batch runs. In ClipStitchr's batch mode, you can define caption color, text background, and outline style before you generate. Or you can leave it on "Any" and let the system vary the look across the batch. Either way, you make that decision once, not twelve times.
Add or swap music at the stitch level, not the source level. In ClipStitchr, music is added to individual stitches rather than embedded in your library clips. That means you can change the music on one output without touching the original clip. If you want a different track on one ad, you change it on that stitch and re-export. The library stays clean.
Use caption templates. For recurring structures, saved templates mean you do not rebuild your caption layout from scratch. You pick the saved format and it carries through.
This is also worth considering if you are running multiple products. ClipStitchr's Pro plan supports three products and keeps each product's library and stitches separate, so you are not accidentally pairing a hook from one campaign with a demo from another.
Getting Your Finished Ads Out the Door
Once your batch is reviewed and you have downloaded your best stitches, you have a few options for getting them into a campaign.
Manual upload to TikTok Ads Manager. Download your finished vertical videos from ClipStitchr and upload them directly to TikTok Ads Manager. If you have a handful of files, this takes about ten minutes. If you have twenty or more, use Ads Manager's bulk upload (CSV-based) to create the ad records and attach the video files in one step.
Post Bridge for scheduling. If you want to queue finished ads and organic posts from one place rather than logging into multiple platforms, ClipStitchr's Post Bridge lets you schedule finished work through an API connection. Post-Bridge is a social media scheduling tool that integrates with ClipStitchr to take the finished video from your library to a publish queue without downloading and re-uploading manually.
Daily draft automation. On ClipStitchr's Pro and Agency plans, daily draft automation prepares a fresh set of ad drafts from your library each day, ready for you to review and approve. This is useful when you want a consistent output rhythm but you do not want to manually kick off a new batch session every morning.
For the organic side of your TikTok presence (which matters for warming up your account before running paid ads), it is worth reading the post on how to warm up your TikTok account before you push a large paid campaign. A cold account with no organic activity often sees weaker ad delivery.
The Habit That Makes Batch Editing Sustainable
The founders who consistently produce TikTok ads without a dedicated editor are not spending more hours on creative. They have a repeatable session structure.
Here is what that looks like in practice:
Once per month: Record or gather new raw footage. This might be a new product demo clip, a few UGC-style reaction clips, or screen recordings of a new feature. Drop everything into the library. Score anything that has not been scored yet. Fix the quick trims on clips that scored "good with a trim."
Once per week: Run a batch. Pick your best unpaired hook clips, select your current demo, generate a batch of stitches, and review. Download the ones that are ready. Queue them for posting or push them to a campaign.
On an ongoing basis: Watch what performs. When something works, figure out what the hook structure was and look for more clips that follow the same pattern. When something underperforms, check the stitch score retroactively and see if the issue was already visible before you posted.
This three-part rhythm is what ClipStitchr's whole system supports: cut from your existing library, find new material when the library gets thin, ship what is ready. The goal is not one perfect ad. It is enough honest attempts to find the things that actually resonate.
One founder building a fitness app used this workflow to publish 75 reels in a single month while the app itself was still under development. The full 30-day case study is worth reading if you want to see what a real output volume looks like for a solo operator with limited footage.
For additional context on keeping TikTok marketing costs low while maintaining creative volume, the post on tips for marketing on TikTok with a zero budget covers the organic side of the same workflow.
Putting It All Together
Batch editing TikTok ads without hiring an editor comes down to three things working together: a library that stays organized between sessions, a tool that handles the repetitive hook-plus-demo assembly, and a review step that catches weak outputs before they get posted.
TikTok Ads Manager's bulk edit features are useful for managing campaign settings and uploading finished creatives at scale. They do not replace the video production step. That is where most solo founders actually lose time.
A tool like ClipStitchr fills that gap. Upload your clips once, run a batch, review the outputs, and download what is ready. The next session starts from the same library, not from scratch.
If you are also thinking about extending your creative output beyond video into carousels and slideshows, the post on how ClipStitchr can help you grow your mobile app with slideshow content covers Swipr and how carousel drafts fit into the same production workflow.
And if you want a practical look at how to get early traction on the TikTok side once your ads are ready, the post on how to get 1,000 views on TikTok fast walks through what actually moves the numbers for new accounts.
The editing part does not have to be the reason you slow down. Set up the batch, review what comes out, and keep building.