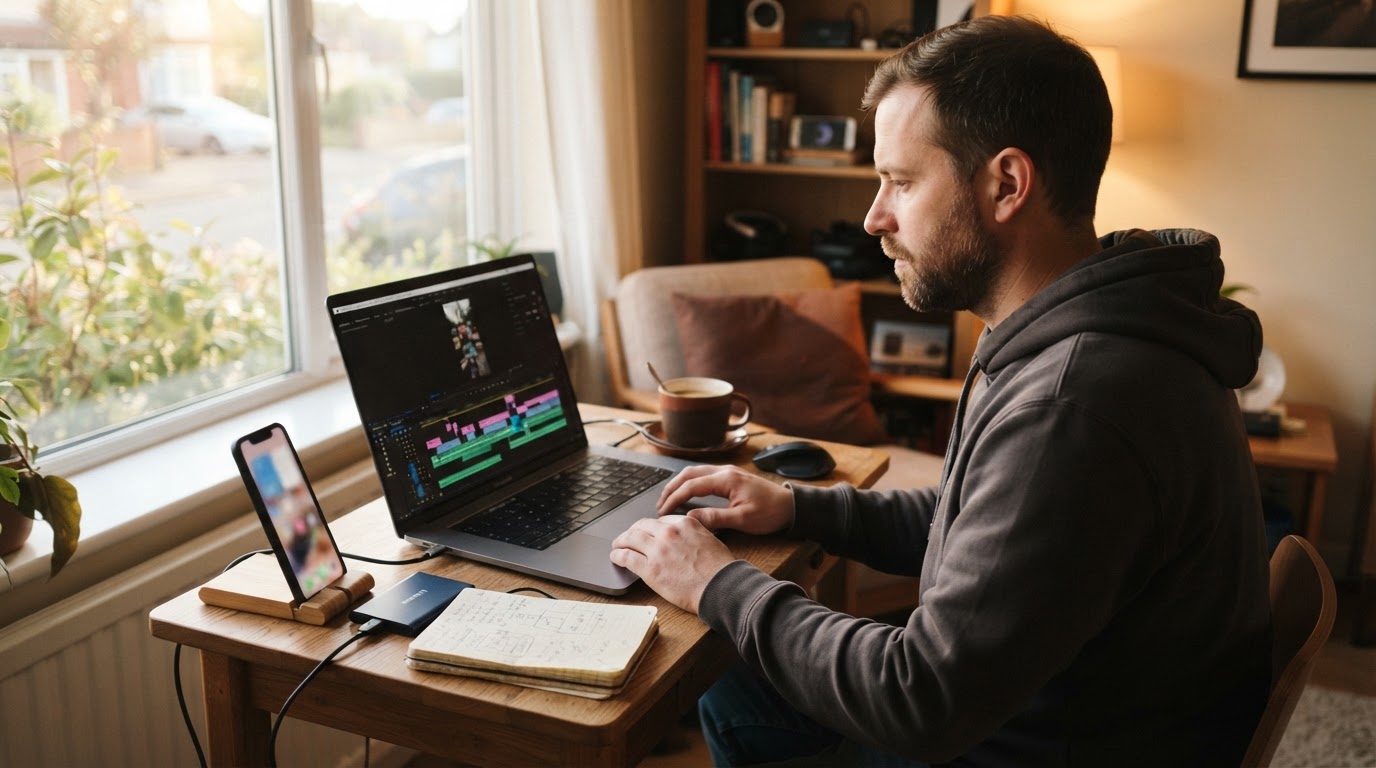
Most app builders have a folder full of screenshots and no idea what to do with them for paid social. The app store images look clean, the UI is sharp, but pasting a static screenshot into TikTok ads manager and calling it a creative just does not work. TikTok is a video-first platform and static images feel out of place there.
The good news is that screenshots are actually a useful starting point. They show real UI, real results, real moments inside the product. The job is turning those static frames into something that moves, has context, and earns a few seconds of attention before someone swipes away.
This guide covers how to do that practically, from the simplest possible approach all the way to building a repeatable workflow for indie teams.
What you will find in this guide
- Why screenshots alone do not work on TikTok
- What TikTok actually needs from an app ad
- The structure that works: hook first, demo second
- How to turn a screenshot into a video without recording new footage
- How to record a proper product demo to replace the screenshot approach
- Batch creating ads from the footage you already have
- Tools and workflow for solo builders
Why a static screenshot does not work on TikTok
TikTok autoplays video. When someone scrolls past a static image in a feed full of motion, it registers as dead air. The platform's ad system also optimizes for completion rate and engagement. A still image has almost nothing to optimize against.
There is also a context problem. A screenshot of your app's home screen does not tell anyone what the app does, who it is for, or why it matters. App store screenshots work because people are already on the product page looking for reassurance. On TikTok, someone has no context and needs to be caught first.
That said, screenshots are not useless. They are raw material. The screen you want to show someone, the moment in your app that proves it works, that is exactly what should end up inside a video ad. You just need to get it there properly.
What TikTok actually needs from an app ad
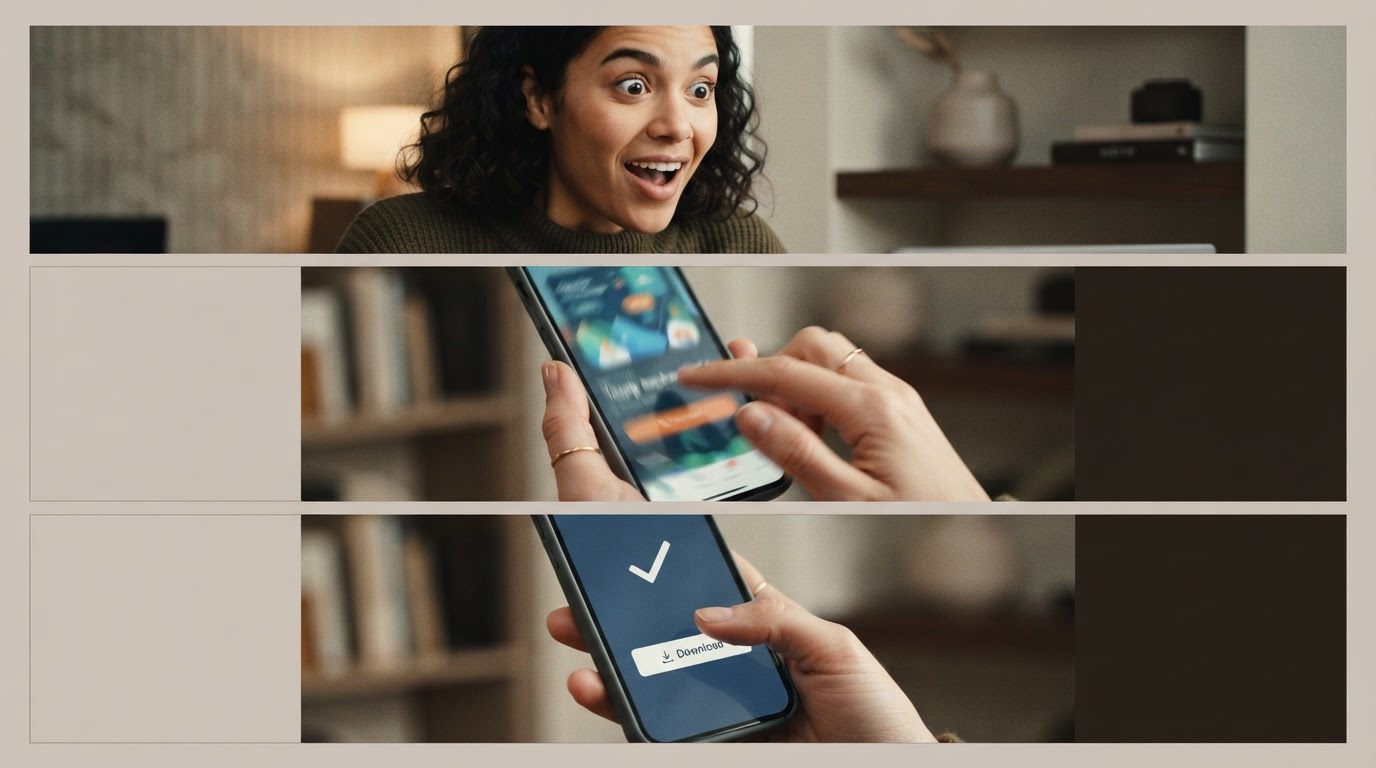
Short-form ads on TikTok follow a simple pattern that works across almost every category:
Hook first. The opening two or three seconds decide whether someone keeps watching. This is usually a reaction, a bold statement, a relatable problem, or something visually surprising. It has nothing to do with your app yet. Its only job is stopping the scroll.
Demo second. Once attention is earned, show the product. This is where your screenshots and screen recordings live. The demo should be tight, readable at phone size, and focused on one outcome. Not every feature. One thing the app does that makes the viewer think "I need that."
Clear next step. A short CTA at the end: download now, try it free, link in bio. Nothing complicated.
Screenshots can serve the demo portion perfectly. The problem most builders run into is skipping the hook entirely and leading with the UI. That kills the ad before it has a chance.
The simplest way to use a screenshot in a TikTok ad
If you want to move fast without recording anything new, here is the minimum viable approach:
Animate the screenshot. Most video editing tools can pan or zoom a still image to give it motion. A slow zoom into the key moment on screen, combined with a caption that frames the benefit, already outperforms a raw static image in an ad unit.
Add text over it. A strong opening line as text overlay does a lot of heavy lifting. Something like "I tracked my workouts for 30 days using this" over a screenshot of the tracking screen gives the image context. The text becomes the hook. The screenshot becomes the proof.
Pair it with audio. TikTok is a sound-on platform far more than Instagram. Trending audio, voiceover, or even a simple music bed makes a static-turned-animated image feel alive.
This approach is fine for a quick test. It is not a long-term creative strategy. The ceiling is low because the hook is weak and there is no human element to build trust.
Why recording a short demo is worth the hour it takes
Here is the honest version: a screen recording almost always beats a screenshot in an ad. Not because it is more polished, but because it shows the product in motion. Viewers can see the tap, the result, the actual experience. That clarity reduces the gap between "what is this" and "I want this."
Recording a usable product demo does not require a studio. It requires:
- A phone or screen recording software
- The relevant screen in your app already open
- A clear path through one feature: tap this, see that result
- No loading screens, error states, or unnecessary navigation
The demo should be short. Fifteen to thirty seconds of clean screen capture showing one useful thing your app does. That is enough. If you are not sure whether your demo is ready to use in an ad, there is a free Product Demo Readiness Checker that walks through the technical and story checks before you build anything around it.
The hook-plus-demo structure in practice
Once there is a demo clip, the next step is putting something in front of it that earns the view. This is where the hook clip comes in.
A hook clip is short footage that grabs attention before the product appears. For app ads, this usually looks like one of these:
- A person reacting to a result ("I can't believe this app actually worked")
- A relatable problem statement to camera ("I was spending three hours a week on this manually")
- A bold claim paired with a quick before/after
- A visual that matches the audience's pain point
The hook does not have to be expensive or heavily produced. A phone selfie video against a plain background, someone speaking directly to camera for five seconds, is often more effective than a polished branded opener because it looks native to the feed.
When the hook clip ends, the demo picks up. The viewer is already curious. Now the app answers the question the hook raised.
This hook-then-demo format is covered in more depth in the hook and demo format guide for anyone who wants to go deeper on why it works and how to structure it.
From one screenshot session to multiple ad variants
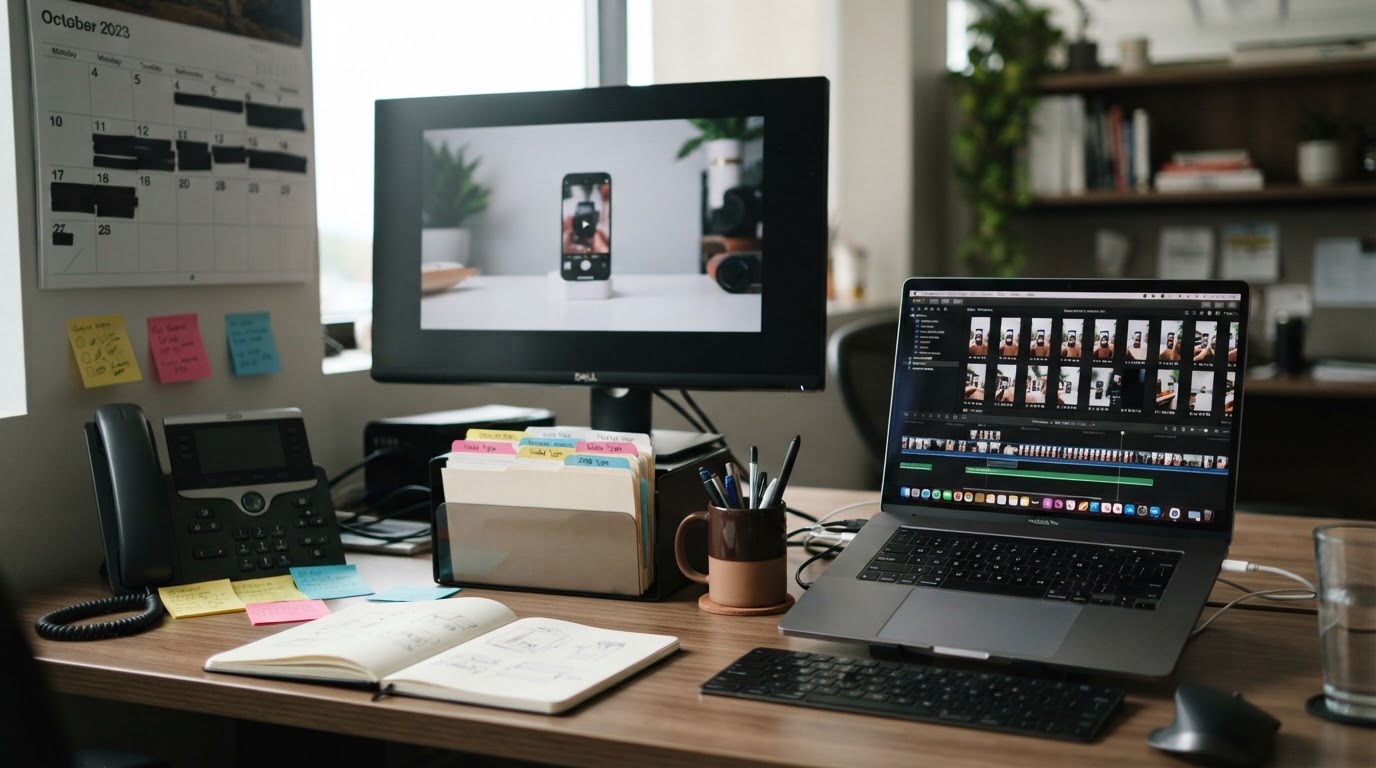
Here is where things get interesting for indie builders. The instinct is to make one ad and see how it does. The problem with that approach is that a single ad gives almost no useful signal. One ad could fail because of the hook, or the demo, or the audience targeting, or the CTA. There is no way to know.
Running multiple variants with different hooks against the same demo solves this. If five different hooks are tested with the same product demo, the one that drives completions and clicks tells something real about what language and framing the audience responds to.
The practical way to think about this: the demo is the stable part. It changes rarely. The hook is the variable. Test five or ten different opening approaches and let the platform tell which ones earn attention.
This is exactly the loop that ClipStitchr is built around. The tool takes up to 20 hook or UGC clips and pairs each one with a single product demo, outputting a batch of finished vertical ads ready to review. The demo records once. The hooks rotate. Each pairing becomes its own finished ad without rebuilding the edit from scratch every time.
A real example: the Guppy fitness app ran 75 reels in a single month using this approach, generating 161,000 total views while the app itself was still being built. The full story is in the Guppy 30-day case study. The point is not the volume for its own sake. It is that volume made 75 honest attempts realistic to finish when doing it manually would have made five the ceiling.
What to do when there is no hook footage yet
Not every builder has a folder full of hook clips. Some have a great demo and nothing else. There are a few ways to fill that gap.
Write hook scripts and record them yourself. Five seconds to camera, one sentence, no setup required. This is the lowest barrier option and often works well because it is authentic.
Use the Hook Library. ClipStitchr's Hook Lab includes over a thousand reusable opening patterns filtered by category, feeling, and intensity. These are not scripts to copy verbatim. They are structural patterns to adapt. Paste the platform structure that fits the app, rewrite it for the specific product, record it.
Generate hook clips. When there is genuinely no footage and no time to record, Clipr inside ClipStitchr can generate short reaction or b-roll clips using saved product settings and an avatar. These work as placeholder hooks while real footage is being collected, or as a supplement when the clip library gets thin.
Study what works for other apps. Hook Lab also analyzes public TikTok and Instagram posts with a timestamped play-by-play breakdown, showing exactly what is happening in each moment and why it works. Pasting in a competitor's best-performing post gives a detailed breakdown of the structure to adapt, not copy.
Getting the vertical format right
TikTok ads run at 9:16. Most app screenshots are horizontal or square. Most screen recordings are also horizontal unless the app is mobile-native and recorded from a phone.
This matters more than it seems. A horizontal screenshot or demo squeezed into a vertical frame with black bars on the sides immediately signals "this person didn't make this for TikTok." It reduces trust and increases the chance the viewer swipes away.
The fixes are simple:
- Record demos on a phone so the output is already vertical
- If the app is on desktop, record it horizontally and then zoom into the key moment so it fills the vertical frame
- Use a zoom-and-crop in editing to make the important UI readable without letterboxing
- Make sure any text overlay sits inside the safe zone, away from TikTok's UI elements at the top and bottom
There is a free TikTok Safe Zone Overlay tool that shows exactly where TikTok's interface sits so captions and text overlays land in the right place.
ClipStitchr automatically prepares uploaded clips for vertical format before they enter the library, which removes one step from the manual workflow.
Adding captions and text overlays
Captions are not optional on TikTok. A significant portion of viewers watch with sound off, especially in the first few seconds before they decide whether to turn audio on. Without captions, a hook delivered via voiceover or speech is invisible to those viewers.
For app ads specifically, text overlays also serve a secondary purpose: they reinforce the benefit. A caption that reads "before: 3 hours manually" while showing a slow process in the app, followed by "after: 8 minutes with the app" while showing the automated result, turns a passive screen recording into a story.
Keep text large enough to read at phone size. The font choice matters less than the size and contrast. White text with a dark outline or background reads in almost every situation.
A practical workflow for turning screenshots and demos into TikTok ads
Pulling everything together, here is a repeatable workflow for a solo builder with limited time:
Step 1: Record one clean demo. Screen record the single most compelling moment in the app. One feature, one outcome, fifteen to twenty seconds. Check it against the Product Demo Readiness Checker before building anything around it.
Step 2: Write three to five hook angles. Think about the problem the app solves. Write one hook from each angle: pain point, surprising result, relatable situation, bold claim, social proof. These become scripts for short hook recordings.
Step 3: Record the hooks. Phone, selfie camera, anywhere with reasonable light. One to five seconds each. No editing needed at this stage.
Step 4: Pair hooks with the demo. Each hook clips plays first, then the demo follows. If doing this manually, this is the repetitive edit: cut hook, cut demo, export, repeat. With ClipStitchr, uploading the hooks and the demo and running a batch creates all five finished ads in one pass.
Step 5: Review and score. Before posting anything, watch each finished ad as a viewer. Does the hook earn the demo? Does the demo deliver on what the hook promised? ClipStitchr's Stitch scoring checks hook-to-demo flow, drop-off risks, and suggested trims before anything goes live.
Step 6: Post and track. Post the batch, let it run, and read the results. High hook retention means the opening worked. Low click-through means the demo or CTA needs work. Use that signal to write the next round of hooks.
For a deeper look at building the full workflow around this, the UGC ad creation and short-form video workflow template covers how to systematize this across a full campaign.
How to keep this going without burning out
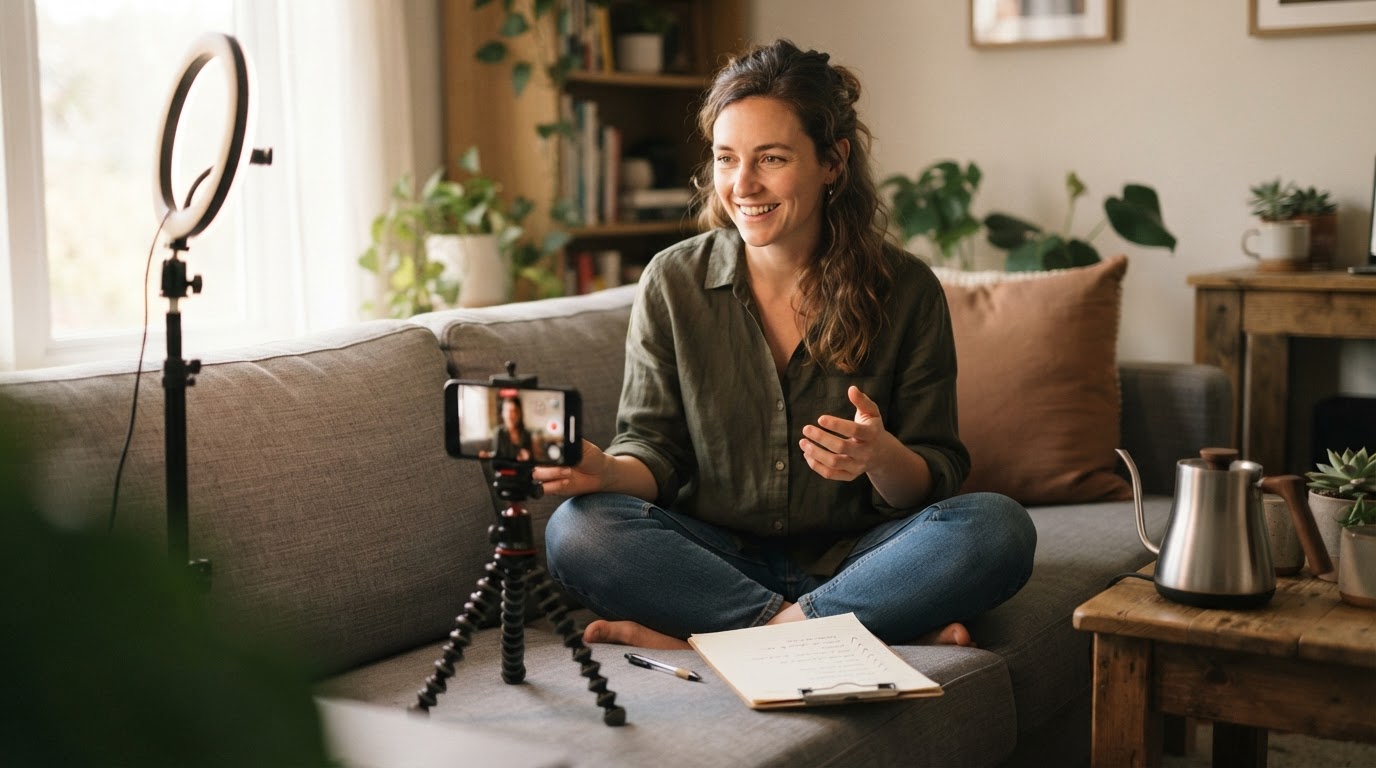
The thing that kills most indie app marketing efforts is the editing overhead. Rebuilding the same hook-plus-demo structure from scratch every time a new hook is tested is exhausting when there is also a product to build.
The only sustainable version of this workflow is one where the repetitive part is handled by a system, not manual labor.
A few principles that help:
Keep the demo stable. Re-record the demo only when the product changes meaningfully. Every hook test runs against the same demo. This makes each new test fast.
Build a hook library, not a campaign. Instead of thinking "I need to make an ad," think "I need to add three hooks to my library this week." The library accumulates. The campaign draws from it.
Batch the edits. Set one session per week or per two weeks to pair hooks with the demo and export. Do not edit one ad at a time. The overhead of opening a project, exporting, closing, reopening is where time disappears.
Score before posting. Five minutes reviewing a stitch score prevents posting an ad with a weak hook-to-demo transition that wastes ad spend.
For anyone building on TikTok without a large budget, the tips for marketing on TikTok with a zero budget post covers the organic side of this that runs in parallel with paid.
What about carousels and slideshow formats?
TikTok and Reels both support carousel or slideshow ad formats. For app marketing, this is actually a strong use case for screenshots.
A carousel lets each slide show one feature or one benefit. The structure works well for apps with multiple use cases: slide one for the problem, slides two through four for the three things the app does about it, final slide for the CTA. The screenshots that do not work as a single ad image work perfectly inside a well-structured carousel.
ClipStitchr's Swipr tool builds carousel drafts from product context, which is useful when there is a clear set of screenshots but no time to manually format each slide.
There is a more detailed breakdown of how slideshow content works for mobile app growth in this post on growing a mobile app with slideshow content.
Tools worth knowing about
A few tools come up regularly when people are putting this workflow together for the first time.
For creating the ads from existing clips: ClipStitchr handles the batch pairing workflow, clip scoring, stitch scoring, and hook analysis in one place. Plans start at $39/month and include every tool in the system.
For scheduling finished ads: Once ads are ready to post, Post Bridge handles queuing and scheduling. ClipStitchr connects to Post Bridge directly so finished stitches move into the posting queue without an extra step.
For AI-generated hook clips when footage is thin: Clipr inside ClipStitchr generates short reaction and b-roll clips. These are not replacements for real human footage, but they work as gap-fillers while a clip library is being built.
There is also a useful video walkthrough of the general process of turning images and product moments into video ads:
And for those who prefer a mobile-first approach:
Common mistakes that make app screenshot ads fail
Leading with the UI instead of the hook. The app's home screen means nothing to someone who has never heard of the app. Put a reason to care before the product appears.
Making the demo too long. Thirty seconds of full onboarding flow is not a demo. It is a tutorial. Show the one moment that proves the product works.
Text that is too small to read. If the caption requires zooming in to read on a phone screen, it will be ignored. Default to large, high-contrast text.
No CTA. Viewers who like what they see and are not told what to do next will do nothing. Even a simple "link in bio" is better than silence.
Making one ad and waiting. One ad is not a test. It is a guess. Build the batch, let the platform choose the winner, and iterate from there.
Not checking format before posting. Horizontal video with black bars, text under the TikTok UI, captions cut off by the interface. These are all fixable in five minutes before posting and they matter more than most people realize.
The honest answer to "will this work?"

App screenshot ads can work. App video ads with a strong hook and a clear demo work more reliably and more often. The gap between the two is smaller than it looks once there is a system for making them.
The builders who see results from TikTok consistently are not making one great ad. They are making batches of honest attempts, reading the data, and iterating. The Guppy case study is a good example of this in practice: 75 reels, real results, and a workflow that made the volume achievable without a team.
Screenshots are a fine place to start. A clean screen recording is better. A hook paired with that recording is the ad. A batch of different hooks against the same demo is a campaign.
Start with what is already in the footage folder and build from there.
What to do next
If there is already a product demo or a folder of screenshots, the fastest next step is checking whether the demo is ready to build around. Use the free Product Demo Readiness Checker to find out before spending time on hooks and edits.
If the demo is ready and the goal is to build a batch of ads without rebuilding the same edit every week, ClipStitchr is built exactly for that. Upload the hooks and the demo, run the batch, review the finished ads, and post what is ready. Plans start at $39 per month with every tool included.