
Here is the short answer: you do not need a video editor to make TikTok ads. You need a hook clip, a product demo, and a way to put them together in the right format. That last part is where most solo founders get stuck, not because they lack creativity, but because the tools they find are built for editors.
This guide is for people who have footage but no team, no timeline editing experience, and no desire to spend three hours in Premiere Pro to produce a 15-second ad. It covers what actually matters in a TikTok ad, how to build one without touching a traditional editor, and what tools make that realistic at any volume.
Table of Contents
- Why most people overcomplicate TikTok ad creation
- What a TikTok ad actually needs
- The footage you need before anything else
- The simplest structure that works
- Tools that handle editing without you
- How to batch ads so you are not starting from scratch every time
- What to do when your clip library is thin
- How to know if your ad is ready before you post
- Posting without losing your mind
- The realistic next step
Why most people overcomplicate TikTok ad creation
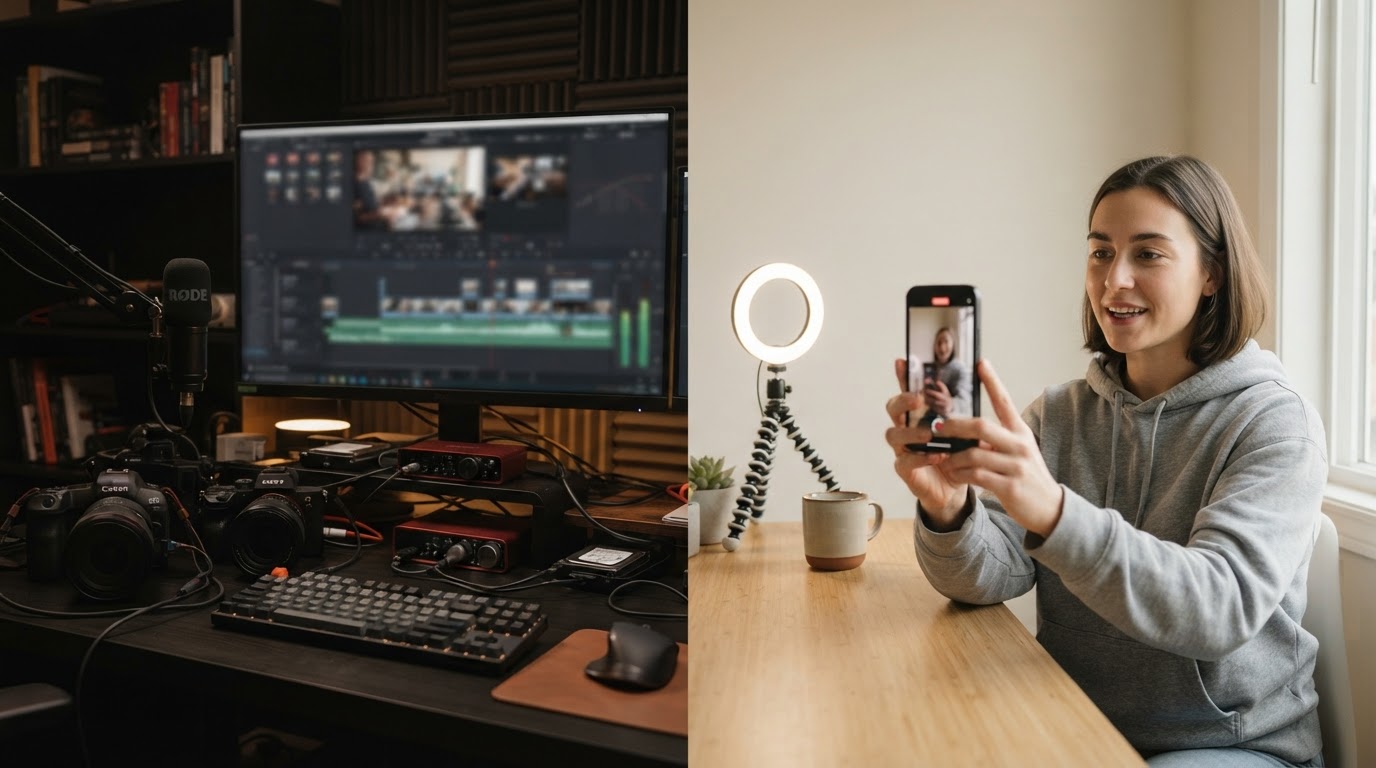
The assumption most people bring to this is that a good TikTok ad looks like a produced video. Tight transitions, color grading, motion graphics, a sound designer somewhere in the credits.
That is not what performs.
The ads that get watched and clicked on TikTok tend to look like they were made by a person, not a studio. A reaction clip. A quick screen recording. Someone talking to the camera before cutting to the thing they are talking about. The production level is low on purpose.
This is good news if you are a solo founder. You are not behind because you cannot afford an editor. You are actually in the right position to make things that feel native to the platform.
The problem that remains is operational. Even if the clips feel casual, you still have to get them into the right format, add captions, match them together, and export something that is actually ready to post. Doing that manually for twenty variations of the same ad is where the workflow falls apart.
That is the gap this guide is designed to close.
What a TikTok ad actually needs
Before touching any tool, it helps to know what a finished TikTok ad requires at a technical and structural level.
Format: Vertical video, ideally 9:16. If your clips are horizontal or square, they need to be reframed before posting. TikTok will accept other ratios but the experience is noticeably worse.
Length: Somewhere between 9 and 30 seconds covers most performing ad formats. Under 9 seconds is often too short to communicate anything. Over 30 seconds tends to lose people.
Hook: The first two to three seconds decide whether anyone watches. This is the part that stops the scroll. It can be a surprising statement, a reaction, a bold visual, or a question. It just needs to give the viewer a reason not to swipe.
Demo: After the hook, the viewer needs to see what you are actually talking about. For an app or product, this is a short screen recording or product clip that shows the thing working. Not a feature list. Not a slide deck. The actual thing.
Caption or text overlay: A large portion of TikTok is watched without sound. Text on screen is not optional if you want the ad to work.
Safe zones: TikTok overlays its own interface elements over the video. Text and key visuals need to stay inside the safe area or they get cut off. This is a very common mistake in first-time ads.
None of these requirements demand professional editing. They do require that whoever builds the ad knows about them and accounts for them.
The footage you need before anything else
The two things that belong in almost every TikTok ad are a hook clip and a product demo.
Hook clips are short pieces of video that earn attention at the very start. These are often UGC-style, meaning they look like something a real user made rather than something a brand produced. A person reacting to something. A quick testimonial. A relatable moment that connects to what the product does. The goal is to make someone feel like this video was made for them.
Product demos show the product doing something useful. For an app, this is usually a screen recording that captures the key action clearly. For a physical product, it is video of the product being used. The demo should focus on one outcome and get to the point fast.
These two clips, stitched together, form the basic structure of a short-form ad that has been proven to work across TikTok and Reels. The hook earns the watch. The demo closes the case.
If you want to go deeper on this structure, the hook and demo format is worth understanding before you start building.
The simplest structure that works
The format is not complicated. Hook first, demo second.
Hook clip (2 to 6 seconds) + product demo (6 to 20 seconds) = finished ad
The hook can be anything that stops someone mid-scroll. The demo shows them what they just got interested in. The whole thing stays under 30 seconds.
Here is what makes this approach powerful for solo founders: once you have one good demo, you can pair it with many different hooks and get a completely different ad each time. The demo does not change. Only the opener does. That means you can test ten versions of an ad without recording ten different videos.
This is also why batch production becomes realistic. If you have fifteen hooks and one demo, you can produce fifteen ads that all look different from the audience's perspective but share the same underlying product video.
Tools that handle editing without you
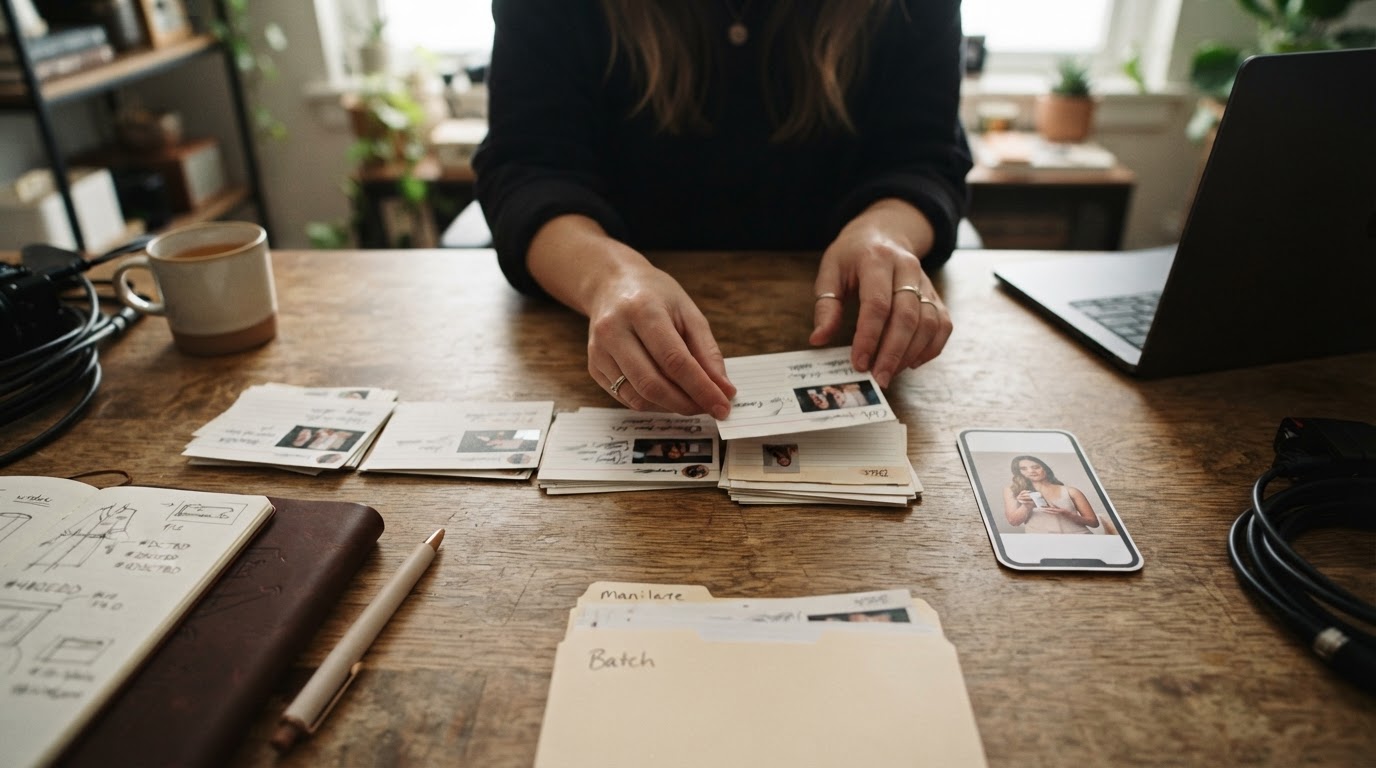
The traditional path for making TikTok ads looks like this: record clips, import them into an editing app, manually trim them, add text, export in the right format, fix the aspect ratio, realize the text is covering the TikTok username, redo the export. Repeat for every variation.
Most people who try this once either hire someone or stop making ads.
There are better options now.
TikTok's native tools
TikTok Ads Manager includes a built-in video editor that handles basic assembly and text. It is free and the output is already formatted for the platform. It is limited but more capable than most people realize.
If you want to see how it works, this walkthrough covers the basics:
The downside is that it is not designed for volume. If you want to make twenty versions of an ad, you are doing twenty separate manual sessions.
CapCut
CapCut is the most popular free option for solo creators making short-form video. It has templates, auto-captions, a decent trim interface, and exports directly to TikTok. It is legitimately easy to learn.
The limitation is the same as above. It is a clip-by-clip editor. Fast for one video. Tedious for a campaign.
AI-assisted tools for no-edit production
This is where the category has moved in the past couple of years. Tools now exist that handle the repetitive assembly work so you can focus on what material to use rather than how to combine it.
One approach is fully AI-generated video, where the tool creates the footage and the ad at the same time. That works for some products. For app founders who already have screen recordings and real user clips, it can feel disconnected from the actual product.
A more practical approach for people with existing footage is a tool that takes your clips, understands the structure of a short-form ad, and handles the assembly for you.
ClipStitchr is built around this specific use case. You upload your hook clips and one product demo, tell it the batch size you want, and it produces finished vertical ads with text overlays included. Each hook becomes its own finished ad. You review them, keep the ones that work, fix the weak ones, and download only what is ready. The format, safe zones, and vertical sizing are handled automatically on upload.
It is not a general-purpose editor. It is specifically designed to eliminate the repetitive edit that happens every time you want to produce a batch of hook-plus-demo ads. For solo founders making TikTok ads for an app, that specificity is the point.
You can see real outputs made this way at clipstitchr.com/examples.
For a broader look at what tools exist in this space, the post on the best video editors for short videos compares options across different use cases.
How to batch ads so you are not starting from scratch every time
The single biggest time drain in TikTok ad creation is not the editing itself. It is the setup. Every time you want a new ad, you have to re-decide the format, re-apply the text style, re-check the safe zones, re-export. All of that overhead makes it easy to avoid the task entirely.
Batching solves this by letting you make those decisions once and apply them across multiple outputs.
Here is how that looks in practice with a tool like ClipStitchr:
- Upload your hook clips and product demo once. The tool prepares them for vertical format automatically.
- Open the batch workflow and select the demo you want to promote.
- Choose up to 20 hook clips.
- Set your text styling preferences, or let the tool vary them.
- Generate the batch.
- Review each finished ad, keep the ones worth testing, and download.
The whole batch shares one setup. If you want to test different text colors or overlay styles across the batch, you can do that too without manually adjusting each clip.
This is how one founder used ClipStitchr to ship 75 reels in a single month while still building the app. Not by working more hours, but by removing the per-ad setup cost from the equation. That campaign is documented in the Guppy 30-day case study if you want to see the numbers.
For more on building a repeatable short-form video workflow, the UGC ad creation and short-form video workflow template walks through how this fits into a sustainable process.
What to do when your clip library is thin
Batching helps when you have enough clips. What about when you do not?
This is a real problem for solo founders who are building and marketing at the same time. You might have one good screen recording and two hook clips. That gives you two ads, which is not enough to actually learn what works.
There are a few ways to expand the library without reshooting everything.
Use what you have from different angles. A slightly different start point on the same demo clip changes how it feels. Trimming the opener to start one second later can change the pacing enough to make it feel like a different clip.
Study what works before you make more. TikTok is full of ads in your category. Before shooting new content, it helps to understand what kinds of hooks and openings are already performing. ClipStitchr's Hook Lab lets you paste a public TikTok or Instagram link and get a timestamped breakdown of exactly what happens second by second, why the post likely worked, and how to adapt that format for your own product. There is also a library of over a thousand hook patterns you can filter and search.
Generate new material when the gap is real. ClipStitchr's Clipr feature can create short reaction clips and b-roll that work as hooks, using an avatar and your saved product context. These are not replacements for real footage, but they fill genuine gaps when you need a few more hooks to test. Similarly, Swapr can generate new variations of existing demo clips.
The goal is to avoid the situation where a thin library becomes an excuse not to ship anything. Even three hooks and one demo give you three ads to test, and that is enough to start learning.
If you are looking for inspiration on what kinds of hooks to use, the 100 hooks for Reels post is a useful starting point.
How to know if your ad is ready before you post
One of the most common mistakes in solo TikTok advertising is posting ads that are not actually ready. Not bad in the sense of low quality, but bad in specific, fixable ways.
The hook does not show anything useful in the first two seconds. The text is covering the platform UI. The demo shows five different features when it should show one. There is a long pause at the start that will cause people to swipe before anything happens.
These are not subjective taste issues. They are structural problems that reduce ad performance consistently.
A few things to check before posting:
Does something useful happen in the first two seconds? If the answer is no, trim the start. Do not make the viewer wait.
Is the text in the safe zone? TikTok overlays its caption, username, and action buttons over your video. Important text needs to stay in the center of the frame or viewers will not see it.
Is there one clear thing happening? The most common demo mistake is showing too much. Pick the single most useful thing the product does and show only that.
Would it make sense without sound? Watch it muted. If you have no idea what is happening without the audio, add captions.
ClipStitchr includes scoring for both individual clips and finished stitches. The clip score checks whether a hook has a strong opener, good pacing, and platform fit before you build around it. The stitch score checks the finished ad for hook-to-demo flow, drop-off risks, and suggested trims. Neither score is a guarantee of performance, but both catch obvious issues before you post a mistake.
There is also a free product demo readiness checker that walks through eight questions about whether your demo clip is actually ready for a creative test.
Posting without losing your mind
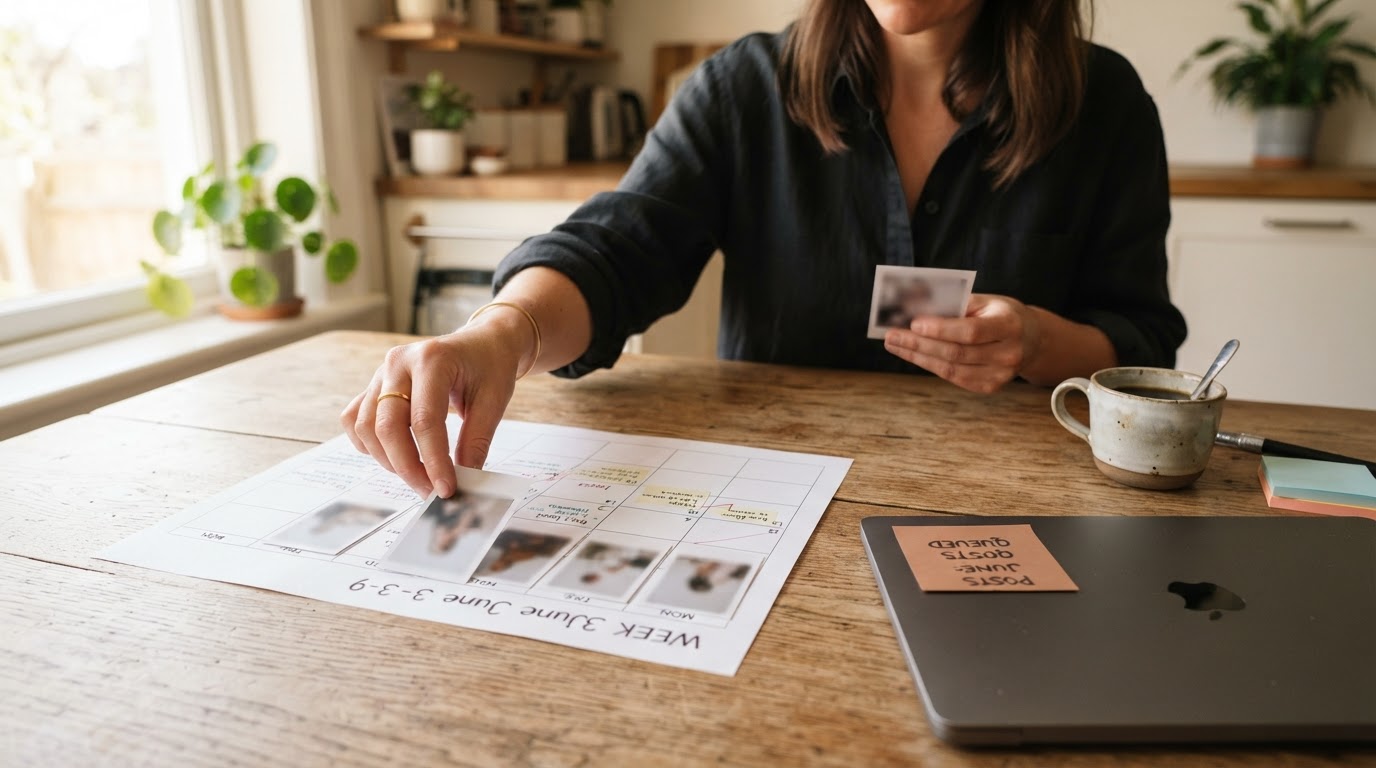
Making the ads is only part of the problem. Getting them posted consistently is the other part.
TikTok rewards accounts that post regularly. One ad every two weeks is not enough to learn what works. The volume matters, both for the algorithm and for your own creative testing. You need enough attempts to tell the difference between a format problem and just a bad week.
Manual posting is fine when you are starting out. But as the volume increases, even downloading each ad and opening TikTok to upload individually starts adding friction.
A few things that help:
Queue finished work before the week starts. Decide in advance which ads are going out and when. This removes the daily decision and keeps posting consistent.
Use scheduling tools. ClipStitchr's Post Bridge connects to scheduling so finished ads can be queued for posting without switching between tools. For broader social media scheduling across platforms, Post Bridge handles multi-channel queuing and analytics.
Separate the creation session from the posting session. Making ads and deciding when to post them are two different jobs. Doing both at once makes both slower. Set aside time each week to produce the batch, then set aside a separate block to schedule and post.
For more on getting views once the ads are live, the post on how to get 1000 views on TikTok fast covers what actually moves the needle early on.
A note on UGC-style ads and AI generation
There is a separate category of tools worth knowing about, especially if you have no footage at all.
AI UGC tools like those covered in the best tools to make AI UGC videos for marketers post can generate realistic talking-head videos with no filming required. You provide a script and the tool produces a clip of a generated person delivering it.
This can work well as a starting point when you have no clips to work from, or when you want to test a hook concept before investing in real filming.
The honest limitation is that fully AI-generated content can feel generic if the prompt is not specific. For app founders who already have real screen recordings and genuine user reactions, mixing real product footage with generated hooks tends to produce better-performing ads than going fully AI-generated.
The most practical use of AI generation is to fill specific gaps: a reaction clip you need but cannot film today, a b-roll shot for a setting you do not have access to. Not as the whole strategy.
For founders who want to understand the difference between fully AI-generated UGC and real UGC in terms of performance, the AI UGC vs real UGC post makes the tradeoffs clear.
Carousel ads are also worth your time
TikTok and Instagram both support carousel formats, and they work differently from video ads. Some products and messages actually land better in a swipeable format than in video.
If you want to test carousel alongside video without rebuilding your product context from scratch, ClipStitchr's Swipr builds carousel drafts from the same product information you already have saved. This is covered in more detail in the post on how ClipStitchr can help you grow your mobile app with slideshow content.
What the workflow actually looks like end to end
Here is the full picture pulled together into a realistic sequence for a solo founder making TikTok ads without a video editor:
Step 1: Record a product demo. One clean screen recording showing the single most useful thing the app does. Under 20 seconds. No dead time at the start.
Step 2: Collect or create hook clips. These can be real user reactions, a personal talking-head clip, footage from Clipr, or any short clip that could open an ad. Aim for at least five to start.
Step 3: Upload everything to your clip library. In ClipStitchr, uploads are automatically prepared for vertical format. Clip scores show which hooks are worth building around.
Step 4: Run a batch. Select the hooks you want to test against the demo and generate the batch. Review the finished ads, score them, and download the ones that pass.
Step 5: Schedule and post. Queue the finished ads through Post Bridge or your scheduler of choice. Aim for consistent frequency rather than perfect timing.
Step 6: Study what works. After a week of running, look at which hooks held attention longest. Use Hook Lab to analyze posts in your category that are performing well. Build more material around what you are learning.
Step 7: Repeat with new material. Clip libraries go stale. Keep adding hooks, test new demo angles, and use what you have learned to brief better material.
This is not a one-time project. It is a campaign loop. The tools that support it are designed to make each cycle faster than the last, not to replace the judgment call about what to make.
For people who want to see an alternative perspective on tools and workflows for this kind of work, the UGC ad creation short-form video workflow alternatives post compiles how other founders have approached the same problem.
The realistic next step

Making TikTok ads without a video editor is not about finding the perfect tool. It is about removing the friction between having footage and having a finished ad.
The clips matter. The structure matters. The platform format matters. None of those things require editing expertise. They require a clear workflow and the right tools for the job.
If you are a solo founder or small team with clips you are not using because getting them into ad form feels like too much work, ClipStitchr is built for exactly that situation. Upload your hooks and demo, run the batch, and have finished ads ready to review in one session. Plans start at $39 a month and the whole production system is included from day one.
The ads will not make themselves. But the editing part does not have to be what stops you.